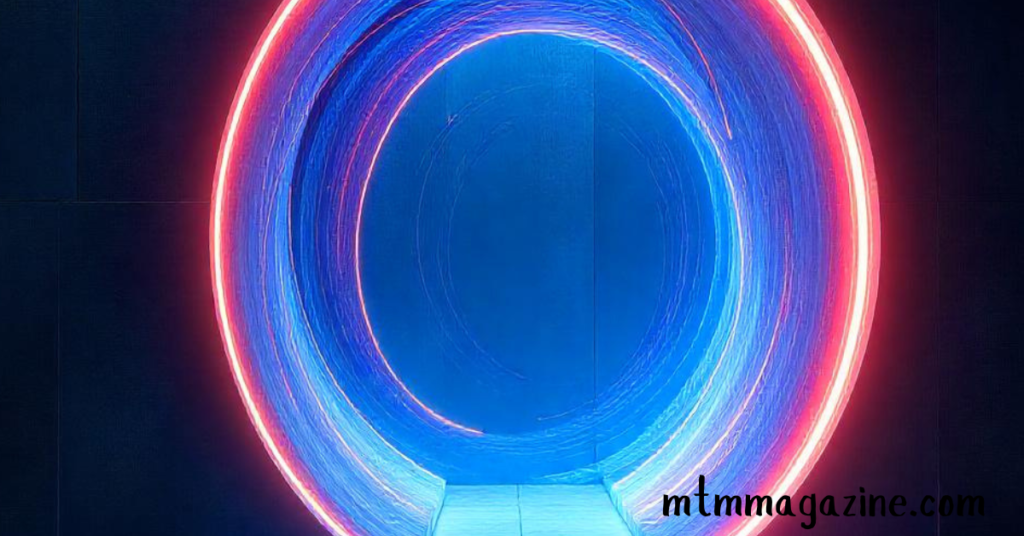
Imagine walking into a room and finding a mysterious, glowing portal embedded in your wall. It looks like something from a science fiction movie, but you can actually create this effect in your own home. A magic portal techno portal in wall design blends futuristic technology with imaginative décor, transforming your space into a mesmerizing environment.
In this guide, we will walk you through the process of creating your very own magic portal in a wall, starting with gathering the right materials and ensuring a strong foundation for your project. This project requires creativity, patience, and a bit of technical know-how, but with the right steps, you can bring your vision to life.
1. Gathering the Right Materials
The first step in building a magic portal techno portal in your wall is collecting the essential materials. Having the proper tools and supplies will make the process smoother and more efficient. Here’s a list of key materials you will need:
- Base Material (Plywood, MDF, or Drywall): You’ll need a strong foundation to build your portal. These materials can support the structure and hold any technology or lighting you plan to install.
- LED Strip Lights or Smart Lighting System: These lights will give your portal a glowing, futuristic effect. LED lights are highly customizable and energy-efficient, making them ideal for this project.
- Acrylic or Glass Panel: This will serve as the surface of your portal, creating a smooth and polished finish.
- Tech Components (Sensors, Screens, or Projectors): Depending on how interactive you want your portal to be, you may want to integrate motion sensors, screens, or even small projectors to simulate movement or images inside the portal.
- Paint and Finishes: To give the portal a magical or technological appearance, use paints with metallic or neon finishes.
- Adhesives and Fasteners: Use strong adhesives, nails, or screws to secure your structure.
- Measuring Tools: Accurate measurements are crucial to ensure your portal fits seamlessly into the wall.
2. Creating a Strong Base
Before you begin adding technology and design elements, it’s important to create a strong base for your portal. The base acts as the structural core, ensuring that everything stays in place and holds up over time. Follow these steps to build the base:
- Step 1: Cut the Base Material: Measure the size of the portal you want and cut your base material (plywood, MDF, or drywall) accordingly. It’s recommended to create a round or oval shape for a portal-like appearance.
- Step 2: Prepare the Wall: Choose the spot where you want to install the portal. If you’re cutting into an existing wall, use a stud finder to ensure you won’t hit electrical wires or plumbing. Cut an opening in the wall that fits the base material securely.
- Step 3: Install the Base: Once the wall is ready, install the base by securing it with nails, screws, or adhesives. Make sure it’s flush with the wall and properly aligned.
3. Adding the Lighting
The glowing effect is what truly makes the magic portal come to life. LED strip lights or a smart lighting system are great options for this effect. Here’s how to add the lighting:
- Step 1: Attach LED Lights to the Base: Start by attaching the LED strip lights around the edges of your portal’s base. You can use adhesive-backed strips or clips to secure them in place. Choose lights with customizable colors so you can change the portal’s glow.
- Step 2: Hide the Wiring: It’s important to hide the wires for a seamless look. Run the wires behind the wall or through a channel in the base material.
- Step 3: Connect the Lighting System: Connect the lights to a smart lighting system, which allows you to control the brightness, color, and timing through your phone or voice commands.
4. Creating the Portal Surface
Next, you’ll need to create the surface that will serve as the visual element of your portal. Acrylic or glass works well for this part, providing a sleek, futuristic look.
- Step 1: Cut the Acrylic or Glass Panel: Measure and cut the panel to fit over the base of your portal. You can also have a professional cut the panel to your exact specifications.
- Step 2: Add Visual Effects: If you want to enhance the portal’s appearance, you can apply frosted or tinted films to the acrylic or glass. Some people even choose to add holographic patterns for extra visual depth.
- Step 3: Attach the Panel: Secure the panel to the base using clips or a strong adhesive. Make sure it’s evenly placed and doesn’t shift.
5. Integrating Technology for an Interactive Experience
For those who want a more interactive portal, consider adding technological components like sensors, screens, or projectors. Here’s how:
- Step 1: Install Motion Sensors: Motion sensors can trigger the lights to change colors or the portal to “activate” when someone walks by.
- Step 2: Add a Small Screen or Projector: For a more advanced portal, you can add a small screen or projector behind the portal’s surface. This can display moving patterns, videos, or even interactive effects.
- Step 3: Sync the Technology: Use smart home technology to sync all the components. For example, you can control the lighting, sensors, and screens through a central app or voice control.
Conclusion
Creating a magic portal techno portal in wall design is an exciting and creative way to transform a room into a futuristic space. By carefully planning and gathering the right materials, building a strong base, incorporating lighting, and integrating interactive technology, you can achieve a unique and mesmerizing design. Whether it’s for a home office, a gaming room, or a kid’s playroom, this portal will not only capture the imagination but also provide a fun and immersive experience.
With a bit of effort and attention to detail, your magic portal will become a stunning focal point that sparks wonder and curiosity for everyone who sees it.


