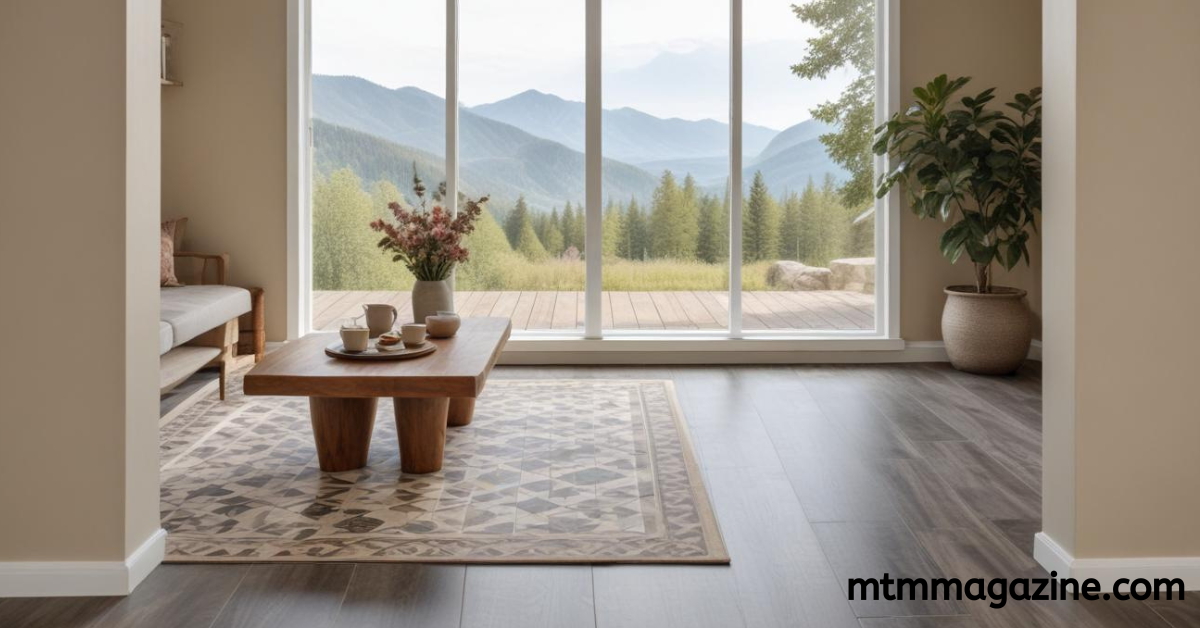
Luxury Vinyl Plank (LVP) flooring has become a favorite among homeowners due to its durability, affordability, and stylish appearance. The Welcome Home LVP Plank Spruce is a standout choice, combining natural wood-like aesthetics with easy maintenance. While professional installation is an option, many people prefer the DIY route to save money and enjoy the satisfaction of doing it themselves.
This guide will walk you through installing Welcome Home LVP Plank Spruce like a pro.
1. Preparing for the Installation
Proper preparation is the key to a successful installation. Here’s what you need to do:
Gather Your Tools and Materials
You’ll need the following:
- Utility knife or flooring cutter
- Measuring tape
- Spacers
- Rubber mallet
- Straightedge or T-square
- Underlayment (if required)
- Adhesive or double-sided tape (if the planks aren’t click-lock)
Acclimate the Planks
Before installation, let the Welcome Home LVP Plank Spruce acclimate to the room’s temperature and humidity. Place the unopened boxes in the room for 48 hours. This prevents expansion or contraction after installation.
Prepare the Subfloor
- Ensure the subfloor is clean, dry, and level.
- Remove any old flooring, nails, or debris.
- If necessary, use a leveling compound to fill uneven spots.
- Depending on the product’s specifications, install an underlayment to reduce noise and provide extra cushioning.
2. Plan Your Layout
Measure the Room
Measure the room’s length and width to calculate how many planks you’ll need. Always account for an extra 10-15% for cuts and mistakes.
Decide on the Direction
Lay the planks parallel to the longest wall or towards the main light source. This creates a visually appealing effect.
Stagger the Planks
To achieve a natural wood look, stagger the seams of adjacent planks by at least 6 inches. Avoid creating a repeating pattern for a more authentic appearance.
3. Installing the Welcome Home LVP Plank Spruce
Step 1: Start with the First Row
- Place spacers along the walls to maintain a ¼-inch expansion gap. This gap allows the floor to expand and contract with temperature changes.
- Lay the first plank in a corner, ensuring the tongue side faces the wall.
Step 2: Connect the Planks
- For click-lock planks, align the tongue of the second plank with the groove of the first plank at a slight angle. Push down to lock them together.
- Use a rubber mallet to gently tap the planks into place, ensuring a tight fit.

Step 3: Cut the Planks
- Measure the last plank in the row and cut it to size using a utility knife or flooring cutter.
- Use the leftover piece to start the next row, maintaining a staggered pattern.
Step 4: Continue Laying Rows
- Repeat the process for each row, ensuring the seams are tight and staggered.
- Use spacers to maintain the expansion gap along all walls.
Step 5: Finishing Touches
- Once all the planks are installed, remove the spacers.
- Install baseboards or molding to cover the expansion gap and give the floor a polished look.
4. Post-Installation Care
- Clean the Floor: Sweep or vacuum the floor to remove dust and debris from installation. Avoid using water immediately to let the planks settle.
- Inspect for Gaps: Check for any gaps between the planks and use a mallet to fix them if needed.
- Avoid Heavy Furniture Immediately: Wait at least 24 hours before placing heavy furniture on the new flooring.
5. Tips for a Professional Finish
- Always read the manufacturer’s instructions for the Welcome Home LVP Plank Spruce to ensure proper installation.
- Work slowly and carefully to avoid mistakes, especially when cutting planks.
- Keep the room’s temperature consistent during installation to prevent warping.
Conclusion
Installing Welcome Home LVP Plank Spruce is a straightforward process that can transform your space with its stylish and durable finish. By following the steps outlined above, you can achieve a professional-looking installation while saving on labor costs. Proper preparation, careful installation, and post-installation care are crucial to ensuring your new floor lasts for years to come.
Whether you’re a seasoned DIY enthusiast or a first-timer, this guide will help you install your flooring like a pro, adding value and beauty to your home.


